FINAL PROJECT AND PORTFOLIO
Final Project and Portfolio

As we have discussed in previous classes, we have finalised all 3 final garments and prepared the technical drawings for each garment to prepare for pattern drafting.

LOOK 1

LOOK 2

LOOK 3
Week 10
After finalising the toile from assignment 2, there were a few adjustments that was needed to be made on Look 1’s pattern. I had to increase the arm hole and lengthen the top. (Only for the pattern… there are further adjustments in the sewing process). I had also decrease the back neck line by 1cm.


Front pattern piece

Back pattern piece.
I then traced the pattern pieces from the master block and cut out the pattern pieces.


For certain pieces of denim, there were holes(stressed denim). So, I had to patch it up with excess fabric.
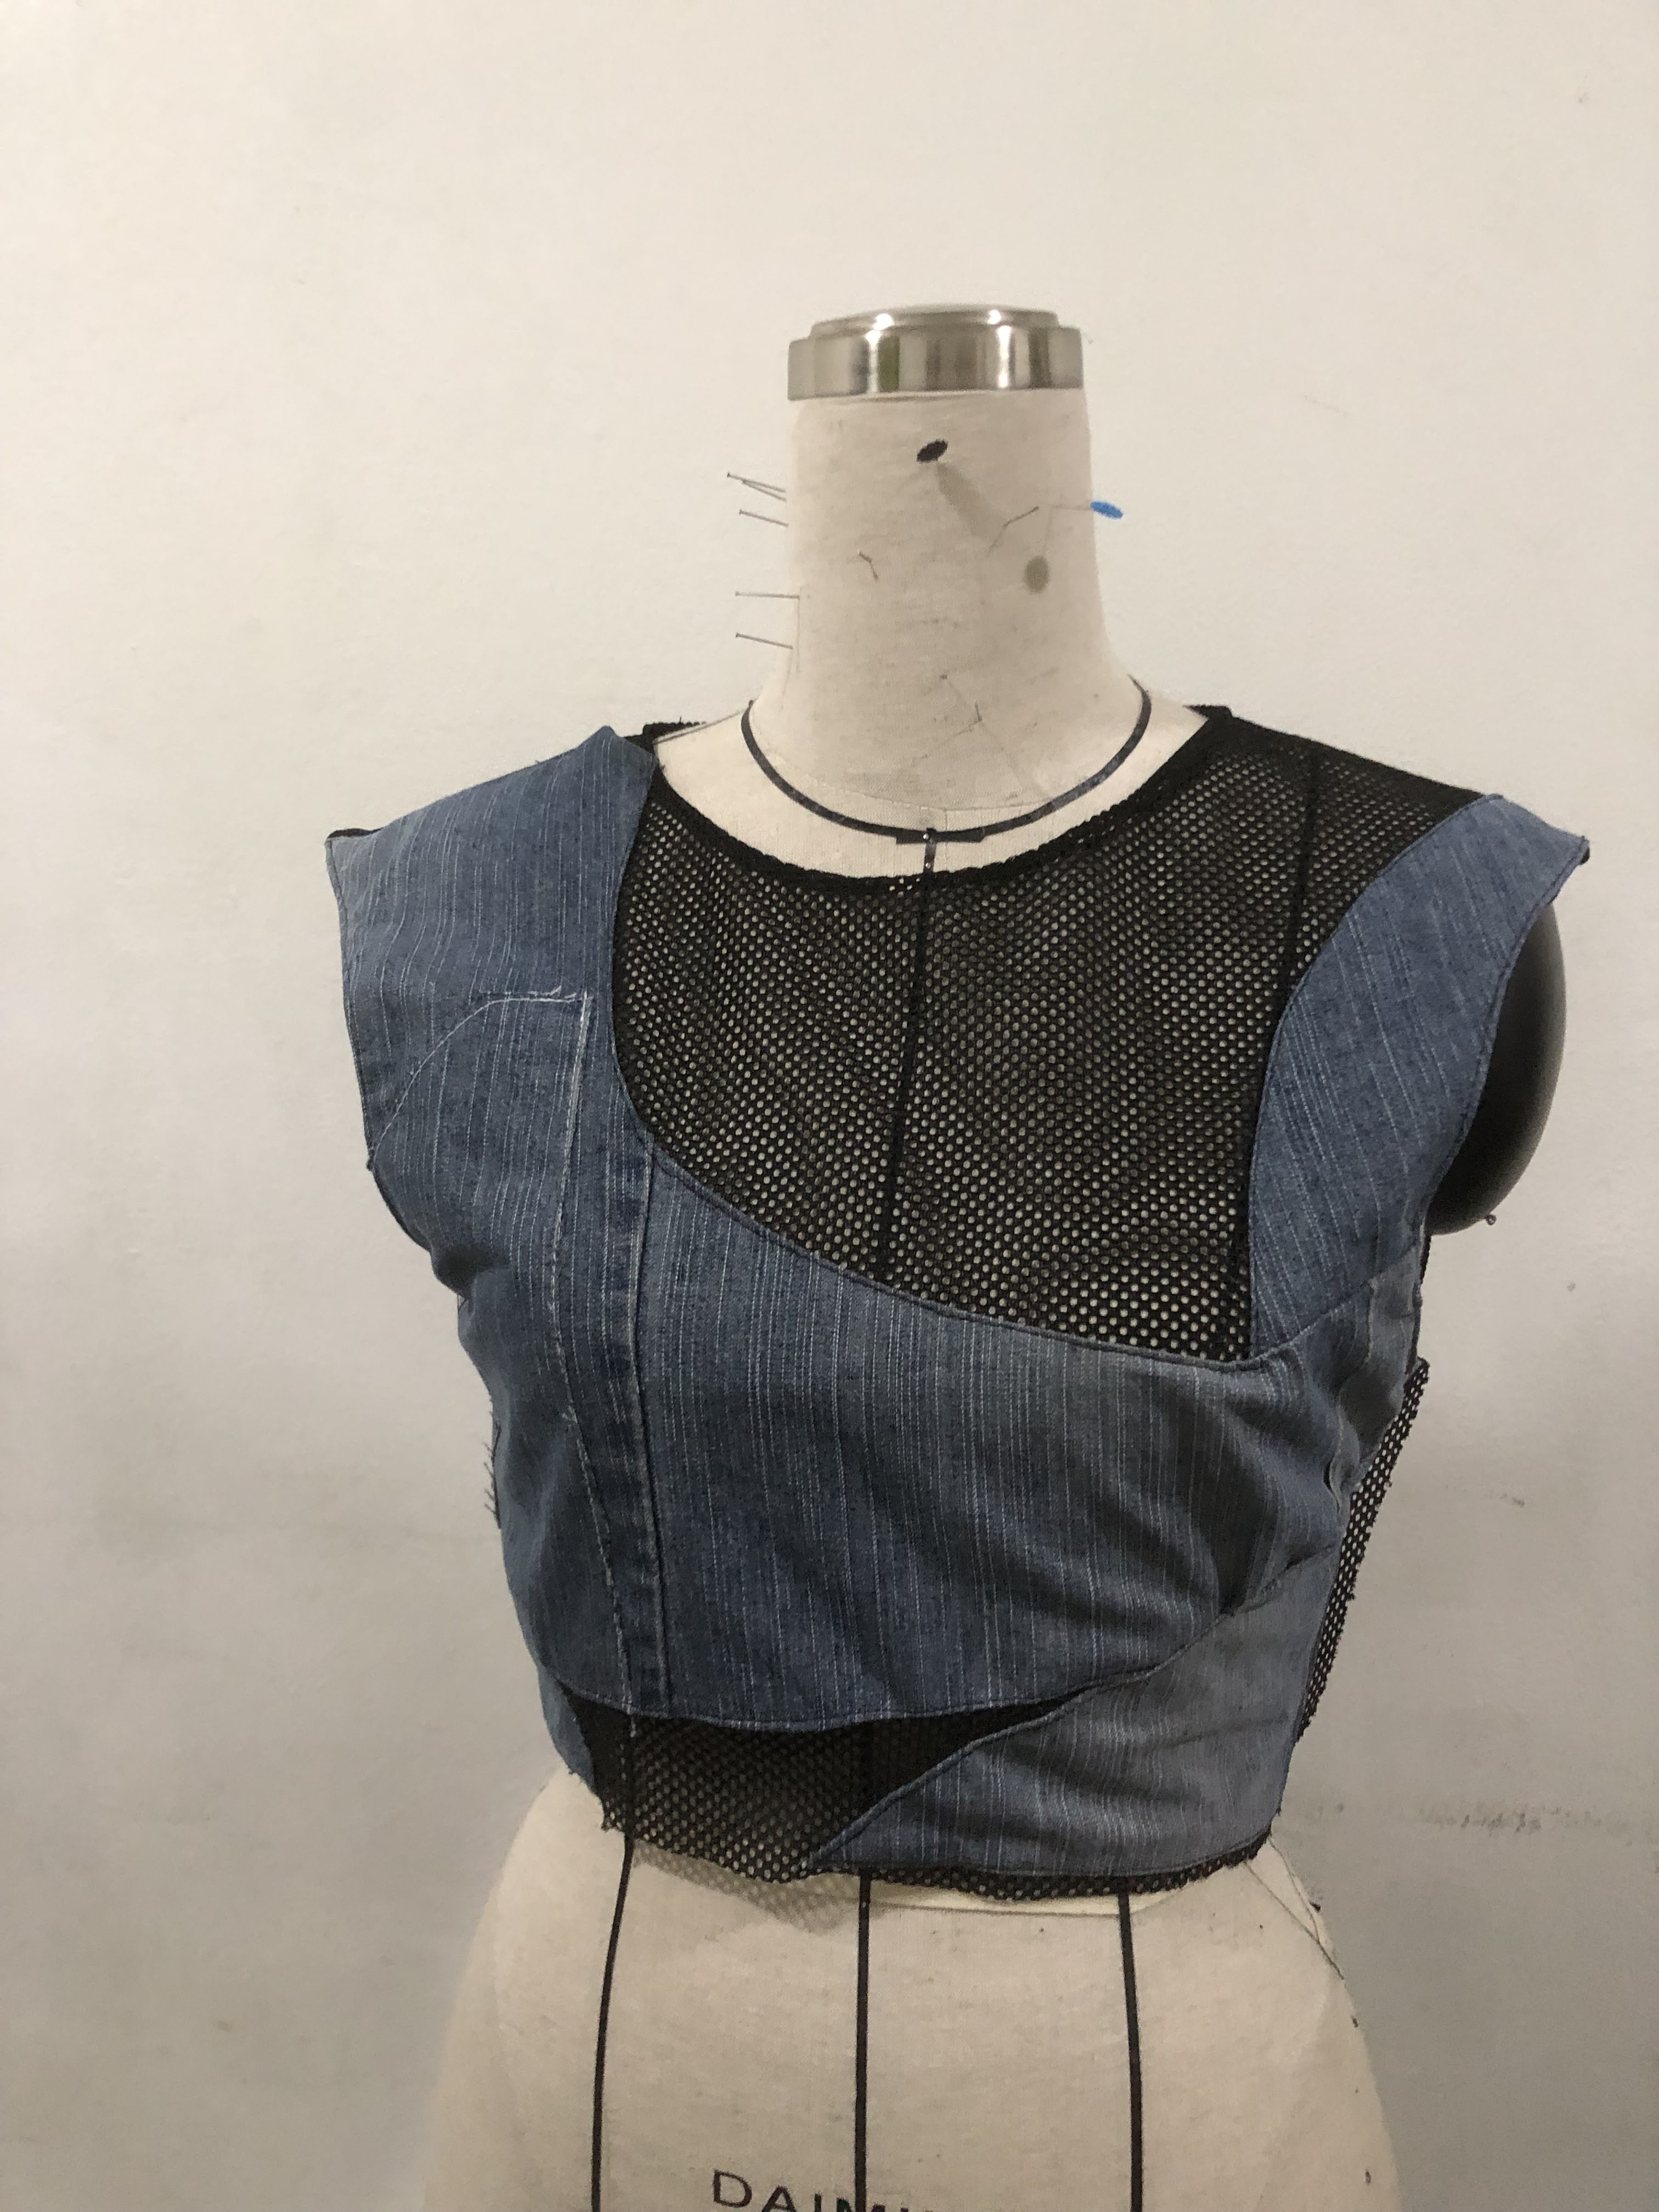
I had then overlocked the curves of the sleeve pattern, neck and zip section of the top.Then, I sew the pattern pieces together.

Matching up the shoulder seams.

Pinning the armhole of the fabric and sewing it carefully.
I then moved on to my pants and cut out the pattern piece according to the pattern that I had drafted as there were no further adjustments required to the pattern.


As i had to use net for the panelling, I had to mark the points and lines on the pants to cut the pattern pieces accurately. I then placed drafted the patterns on a piece of paper and cut it out accordingly on the net fabric.

Doing a clean finishing for the net pieces that is on the right side.


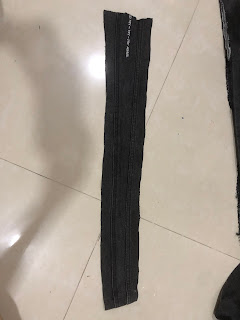
For the nylon mesh, I used a grey nylon ribbon (slightly thicker) for the edges to be make it obvious against the grey and black mesh.

Attaching the mesh pieces together so that it’s easier to work with.

Using the grey mesh as a base fabric for contrast against the pants.
I had cut up a piece of fabric bigger than the panel and marked out the panel on the fabric marking an allowance of 2cm inwards. Then sewing along the shape of the panel.


I had then cut along the seam allowance the shape of the panel.


After cutting the panel piece out, I folded the fabric in along the stitch line to create a cleaner curve on the panel. Then lined the net fabric at the bottom and sewed the pieces together.


WEEK 11
As I was unsure on how to finish us the panels on the pants cleanly, I asked for miss’s advice and she had asked me to cut all the excess fabric on the wrong side of the fabric right at the sew line except for the grey net. Then sew a seam of 0.7 cm from the seam line then trim the grey base net according to the new stitch line.
 I had cut all the excess fabric except the grey net.


Sewing 0.7cm from the original stitch line.


Then proceeded to sew the pant zip and attach the pant panels together.
Sewing the pant zip:

Attaching the front and back panels of the pants:


Test fit of look 1: Front
Front
 Back
Back


Then cut the pattern pieces on a white cotton to test the fit of the pattern. There were no adjustments needed to be made as I had intended for a loose fit.

Then I cut the pattern pieces on to the actual fabric(denim) with a seam allowance of 1.5cm around the edges and marked all the seams of the pattern.


Proceeded to cut the skirt pattern on the actual fabric.

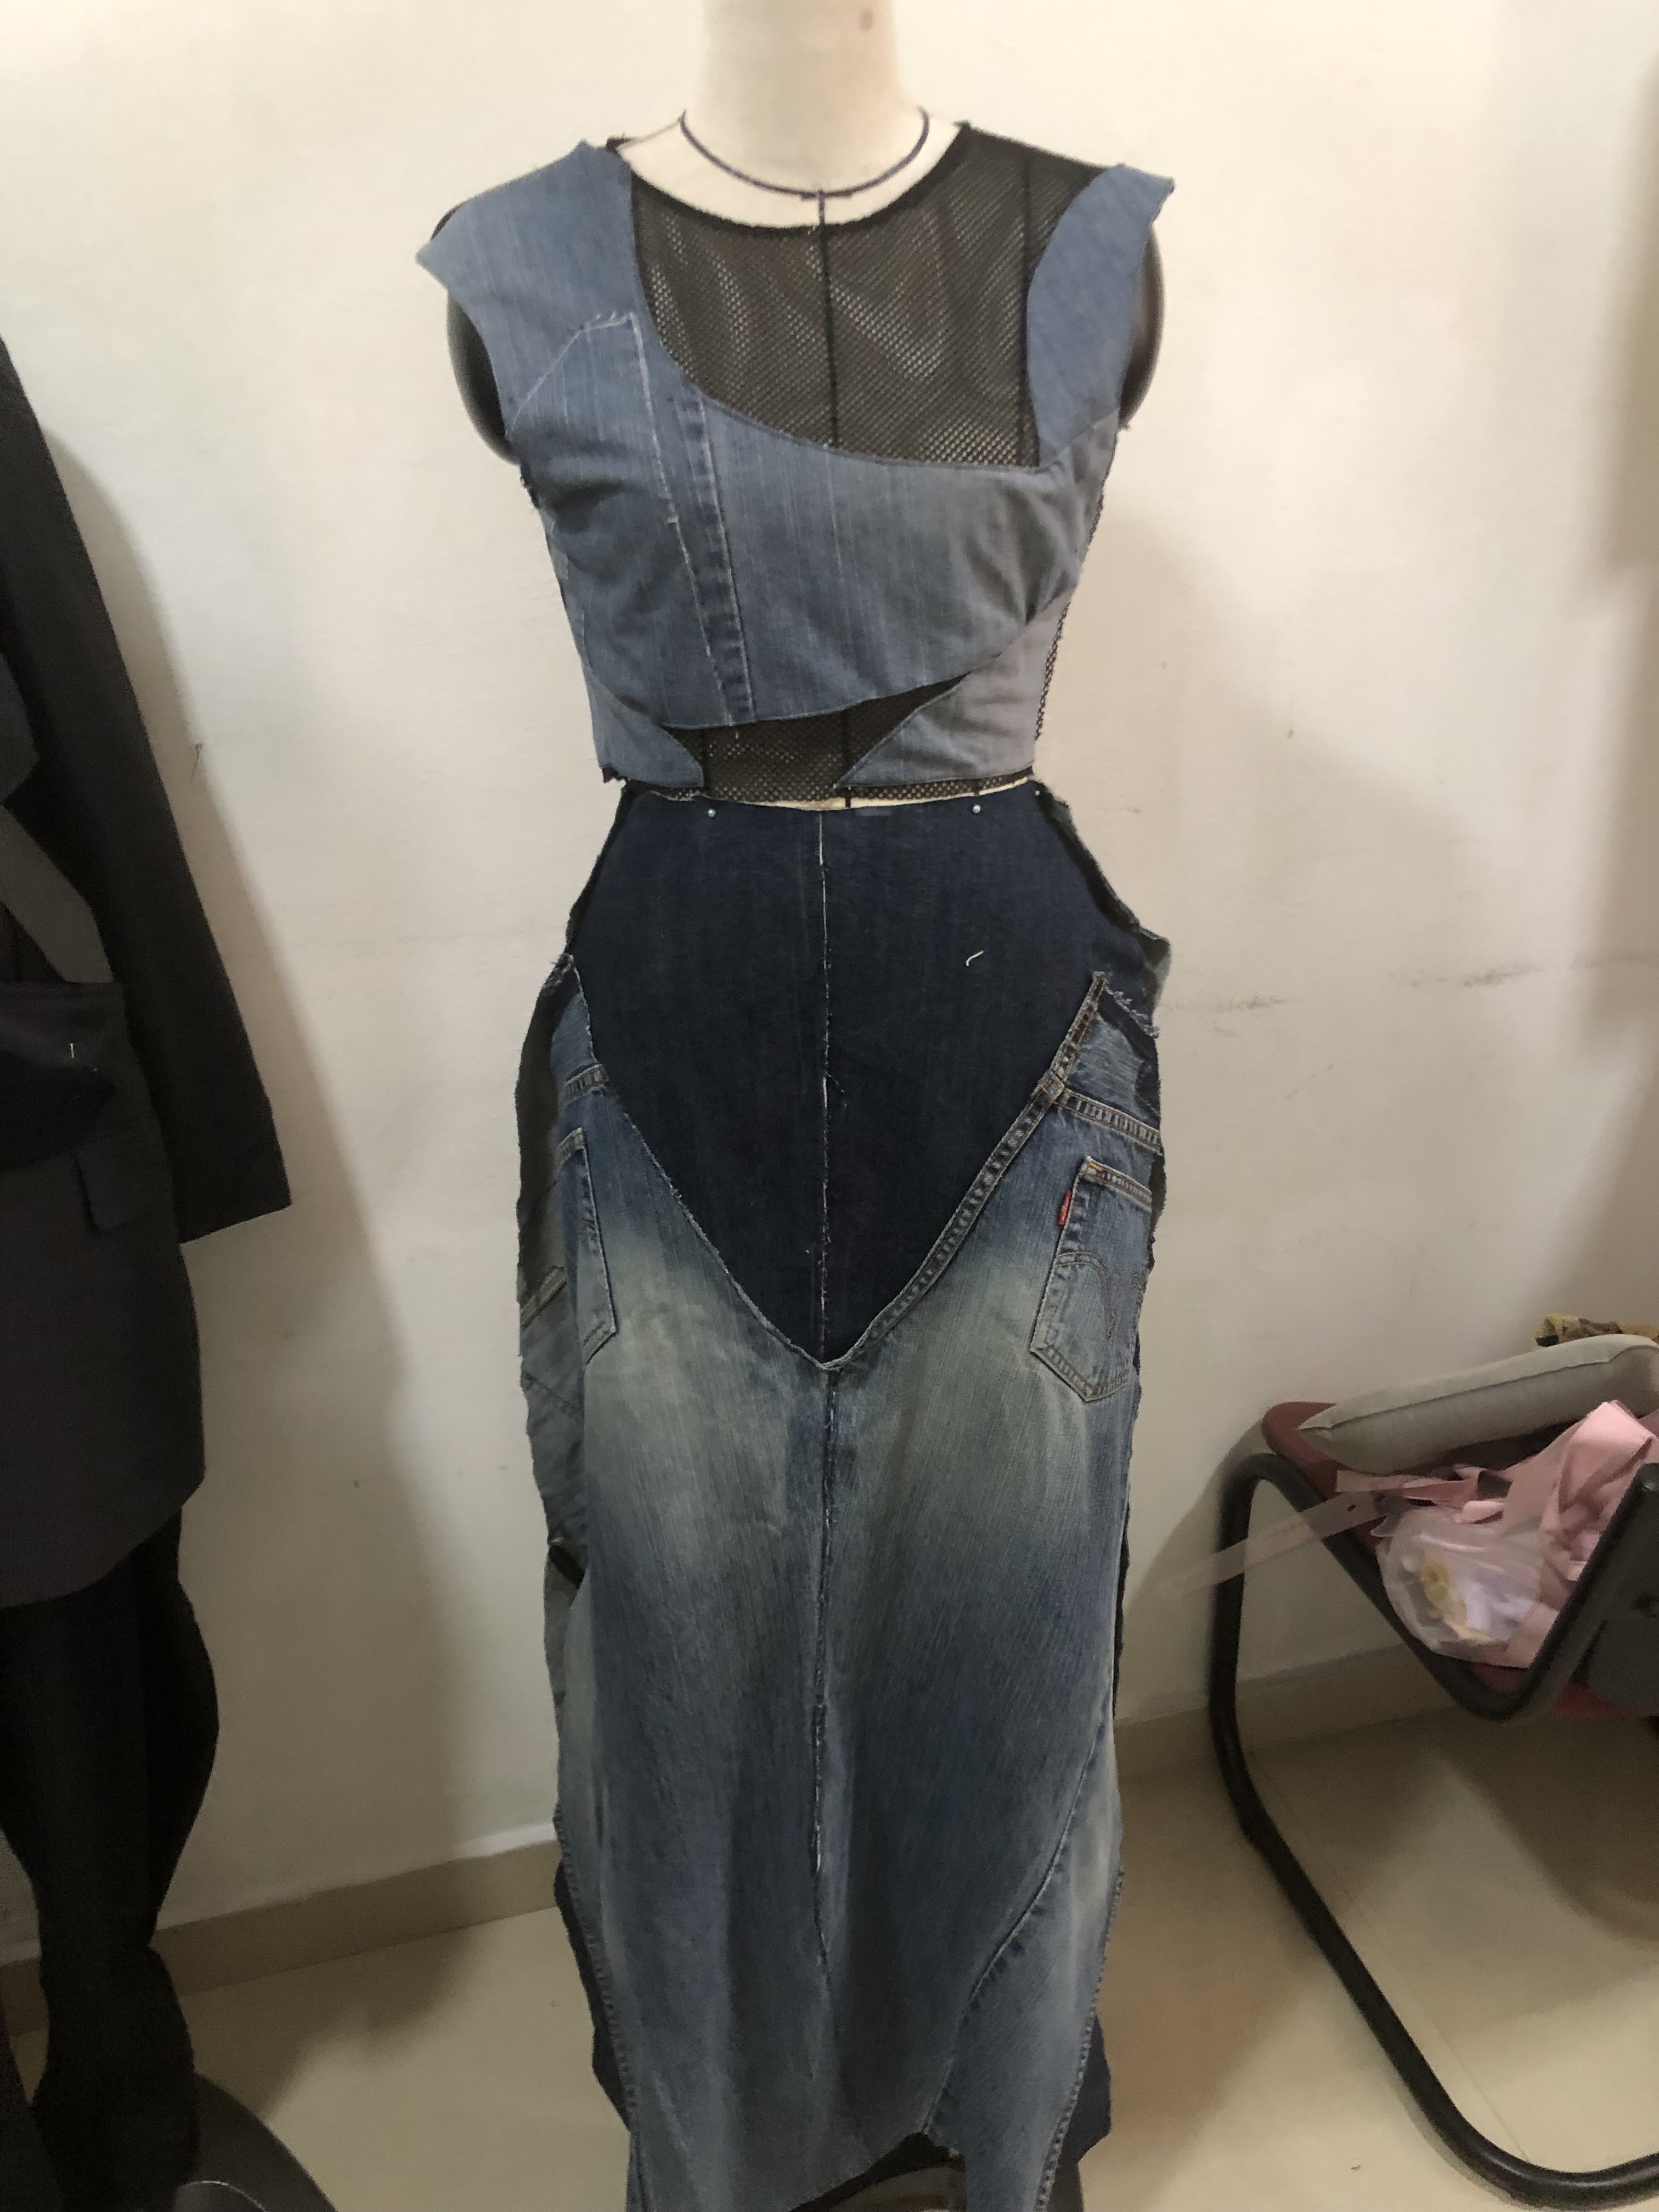

To make the skirt look more cohesive to the top for look 2, I was advised to add a net base to the skirt at the top waist. Front : V-shape. Back : along the waist.


I had cut out the facing for the zip of the jacket.
Applied the elastic for the waistband of the pants.

 WEEK 13


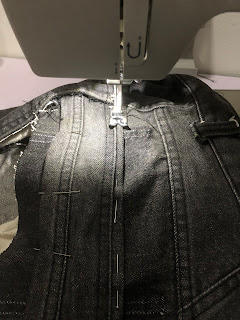
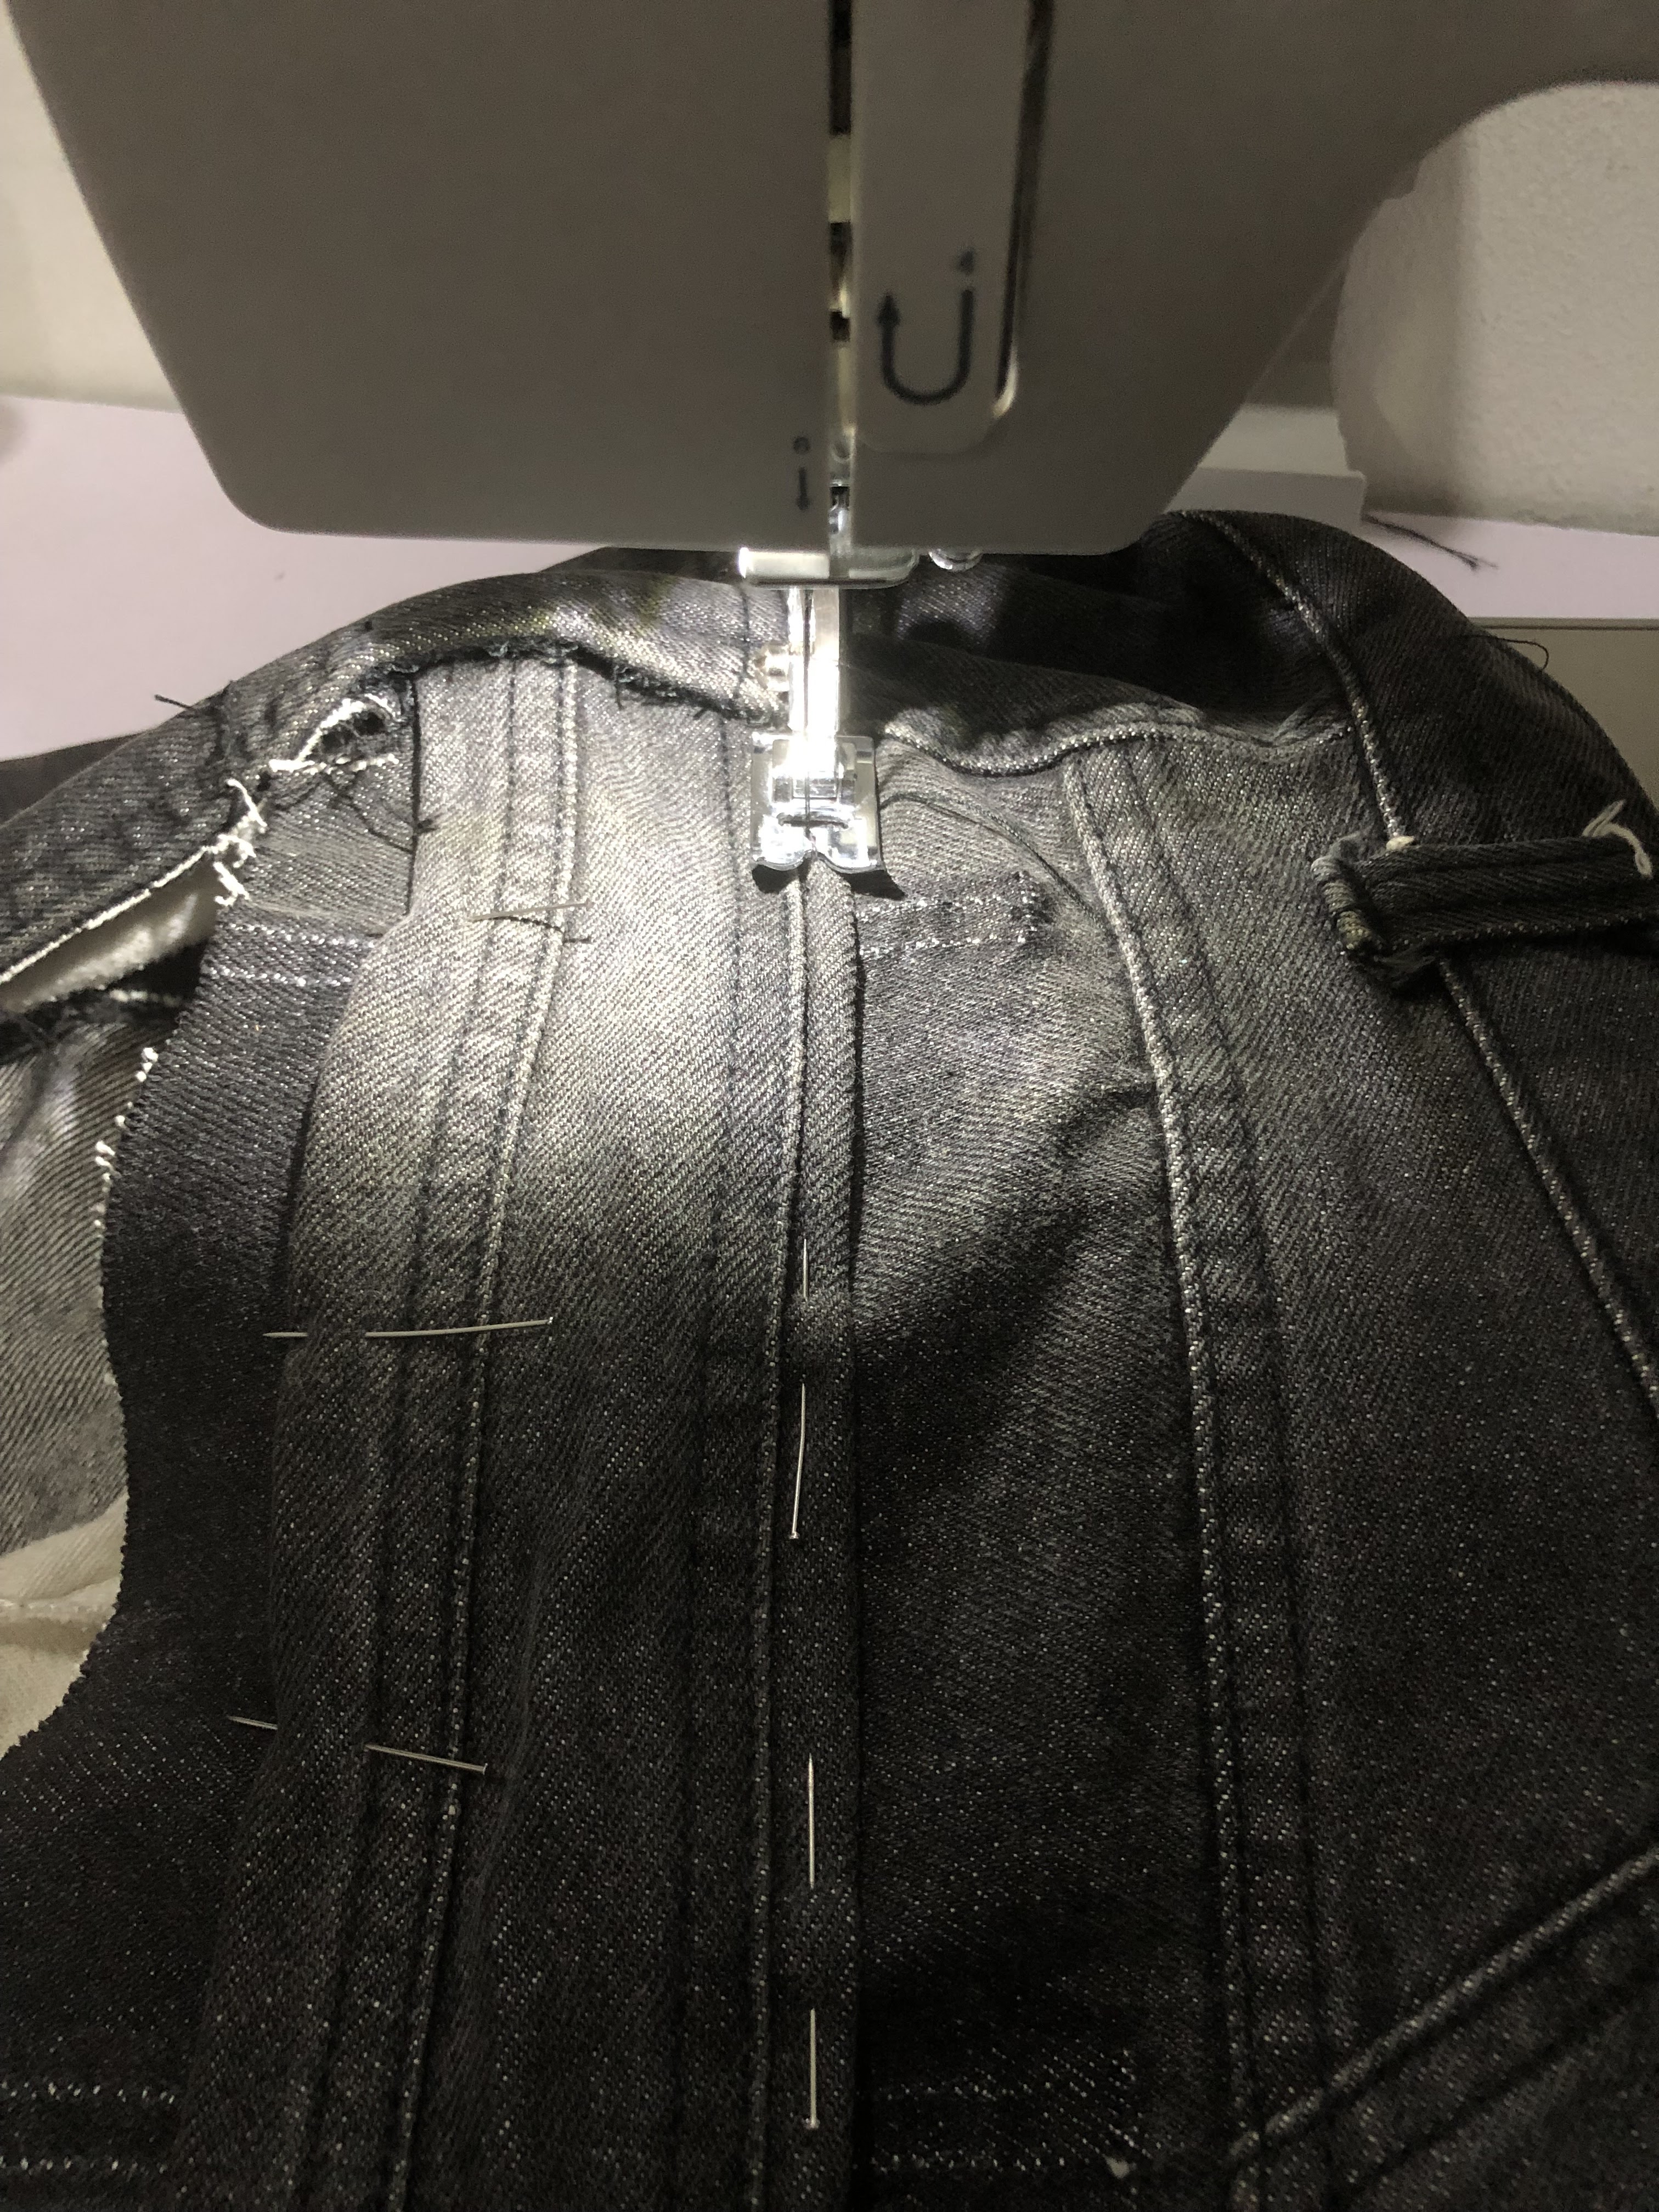
Attaching the zip to the jacket with the facing.
I had to redo the zip a couple of times as the jeans was slightly elastic and kept bulging.
To overcome this, I had reduced the speed of the machine to the lowest and sewed it really slow.

Then I moved back to look 2 and attached the zip for the skirt.


Facing for the skirt.
Creating a base of denim to cut the pattern by patching the denim together.


Then cutting the pattern pieces on denim:

Back pattern

Front and front overlap piece.


Then sew the belt strap with a 1cm allowance.
Attach the longer strap onto the front overlap of the skirt that attaches to the back of the skirt.

Sew the darts and iron the darts facing the centre back. Attach the buckle piece to the back side of the skirt.


Then, I had hemmed the skirt and attached the facing to finish off the skirt.

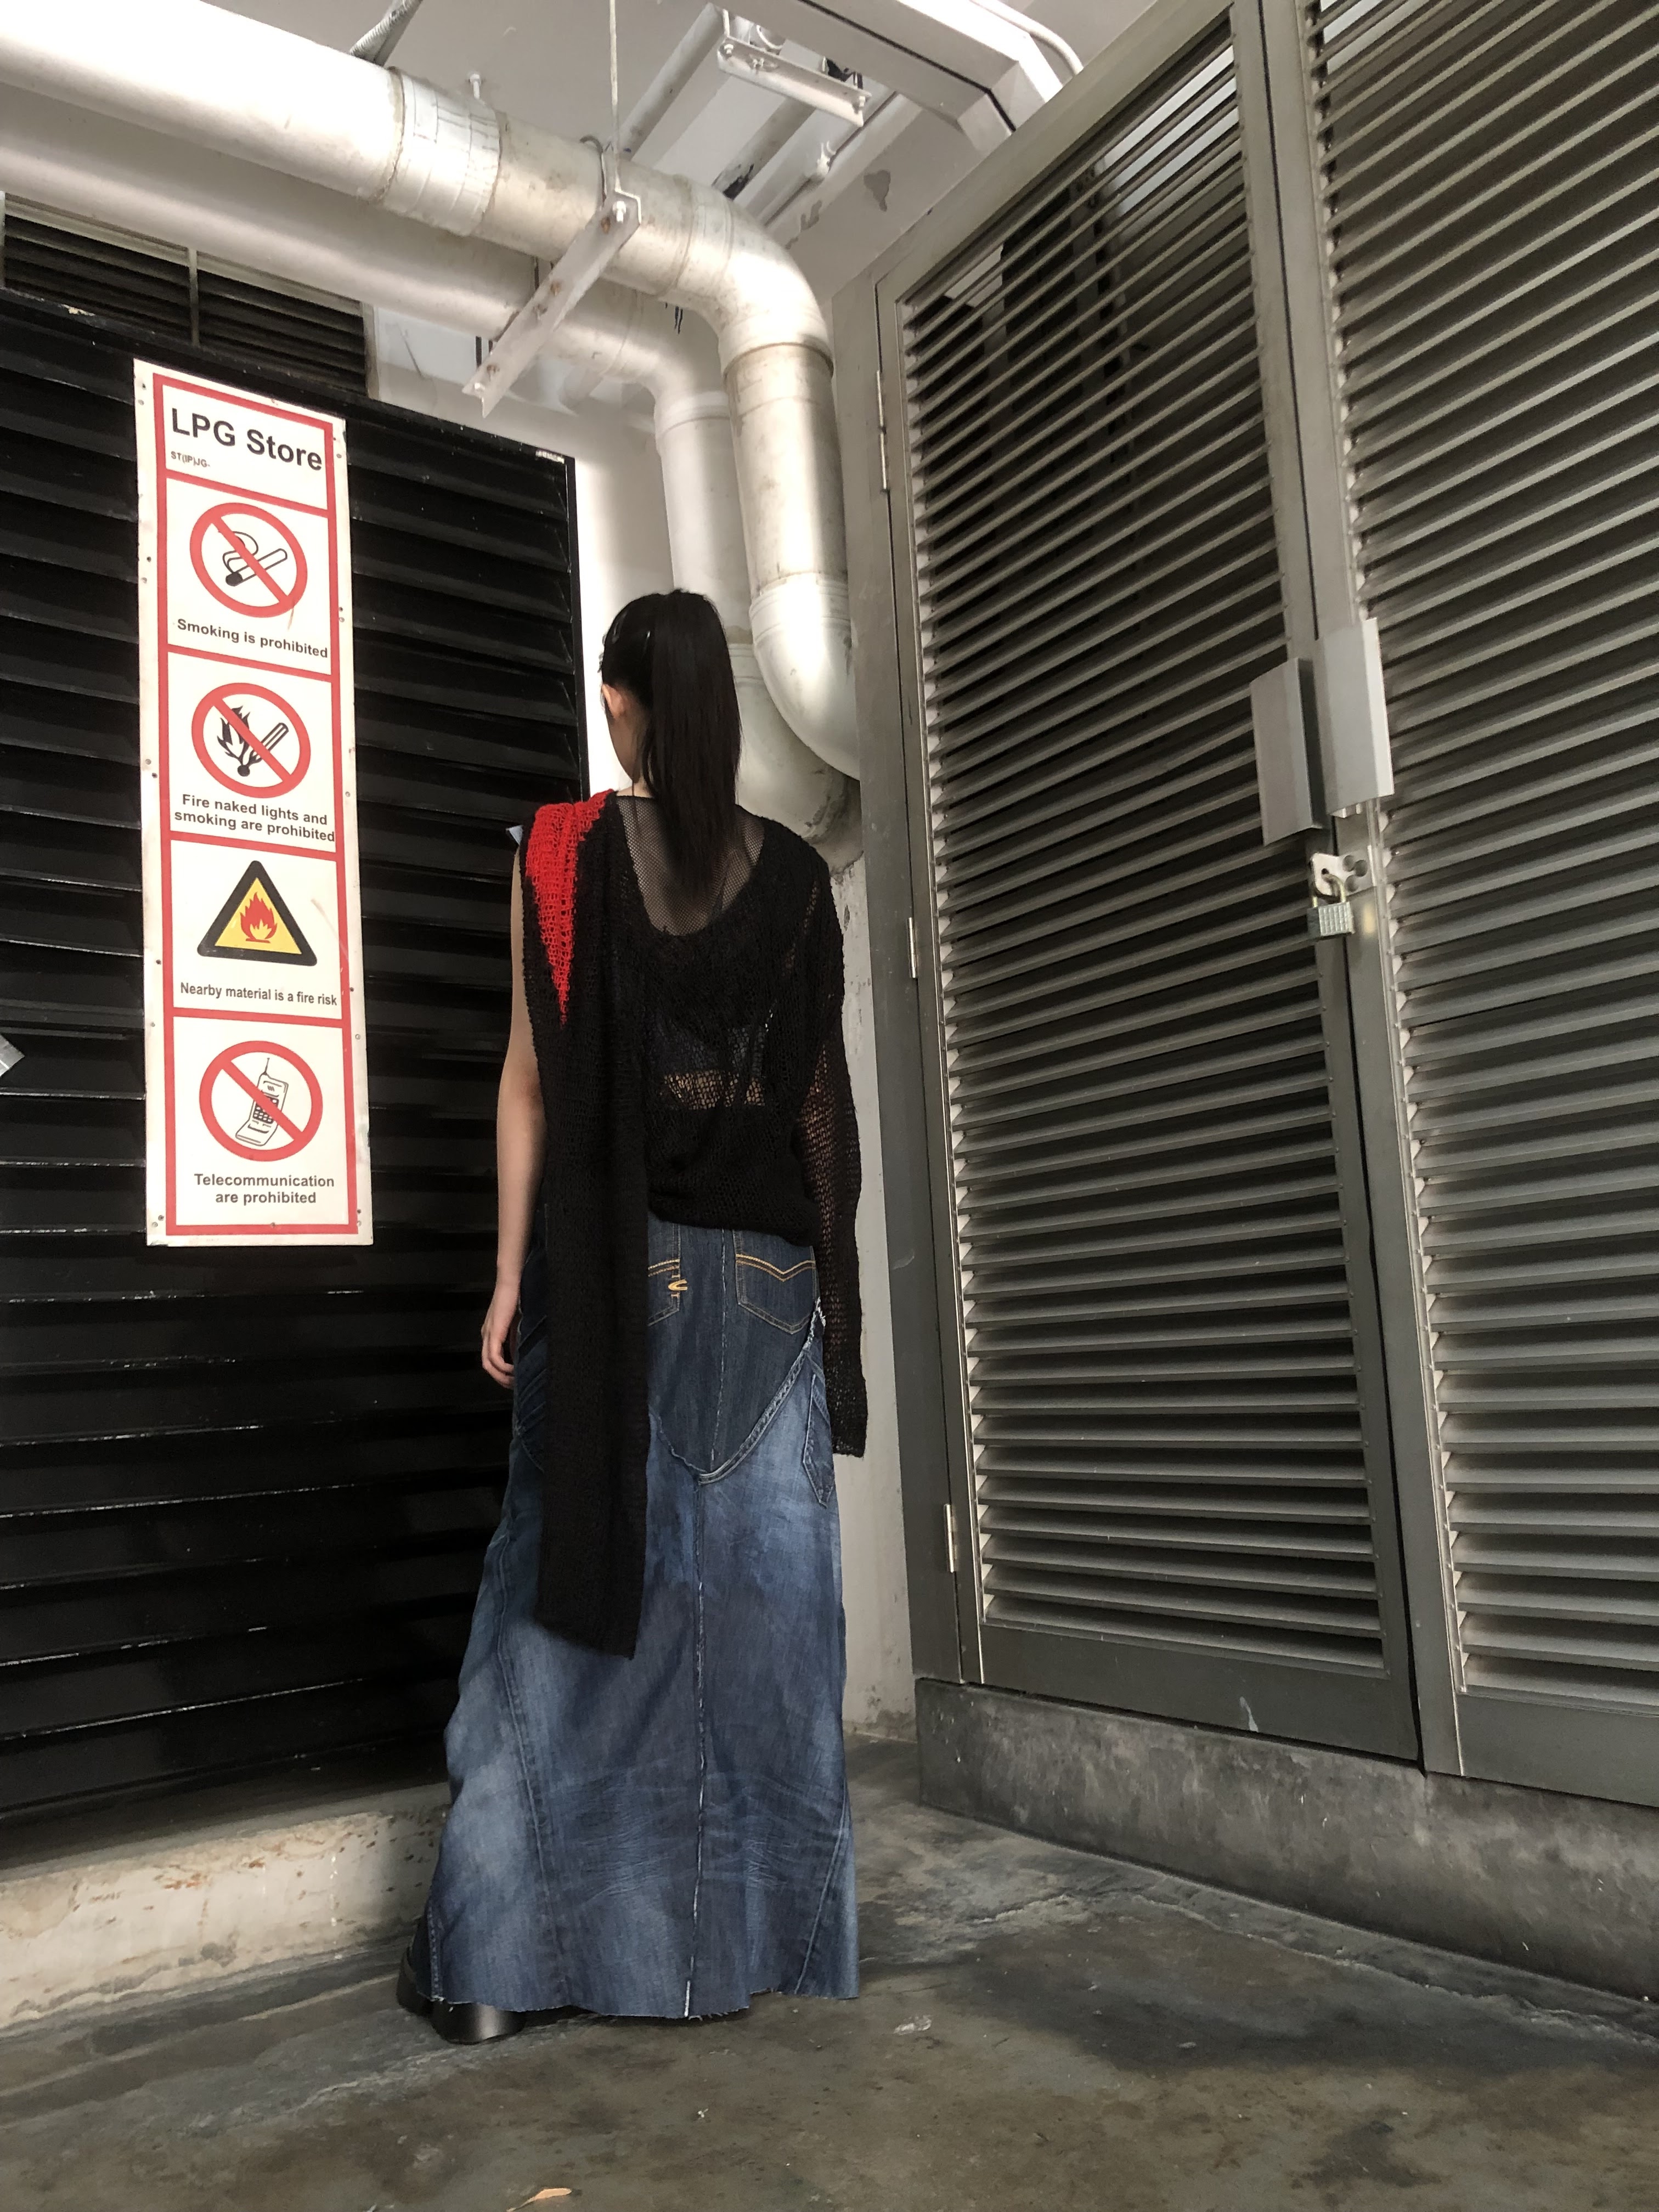
I had then moved on to the top of Look 3. Which I draped on the mannequin. I had cut up a pair of pants and fitted it onto the mannequin. To create an off shoulder, I sewed a panel to with detailing to the top. I added 2 panels to make up the length of the top. This process was a little confusing as I had to make it wearable for the model and to apply the finishing cleanly. I then left the bottom of the top raw to match the street aesthetic with the other looks.

FINAL TOUCH UPS AND FINISHINGS:


I then added a pocket to the front of the skirt.


(at this point I had forgotten to take picture progress)
Look 1:
- Made all the edges raw for the jacket and pants
- adjusted the side pocket to make it flatter as it was bulging
Look 2 :
- attached a detachable zip for the top and did finishing by double folding the base of the top.
- attaching a waistband for the skirt.
Look 3 :
- cut off excess fabric
- raw edging.
FINAL OUTCOME:
LOOK 1

Front

Back

Side

Front
Back
LOOK 3 :

Front

Back
LIMITLESS


Comments
Post a Comment